Jenkins Pipelnes
1 Jenkins Pipeline Setup
The Jenkins Pipeline is configured to promote Boomi packaged components from Development, to Stage, and to Production with a manual approval step before Stage and before Production.
1.1 Pre-requisites
Jenkins 2.x.x (tested with 2.401.2)
Jenkins Pipeline Plugin (tested with 1223.v41b_0279c361a)
Python 4.11
Pip for Python 4.11 installed
1.2 Create new Jenkins Pipeline
Within Jenkins, create a new pipeline by creating a new item and selecting “Pipeline” as the type. Do not include spaces within the name of the pipeline because the script does not handle spaces. This example uses ‘boomi-cicd-pipeline’ as the name of the pipeline.
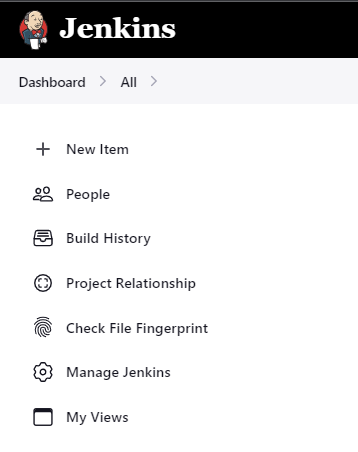
Figure 1. Jenkins New Item Icon
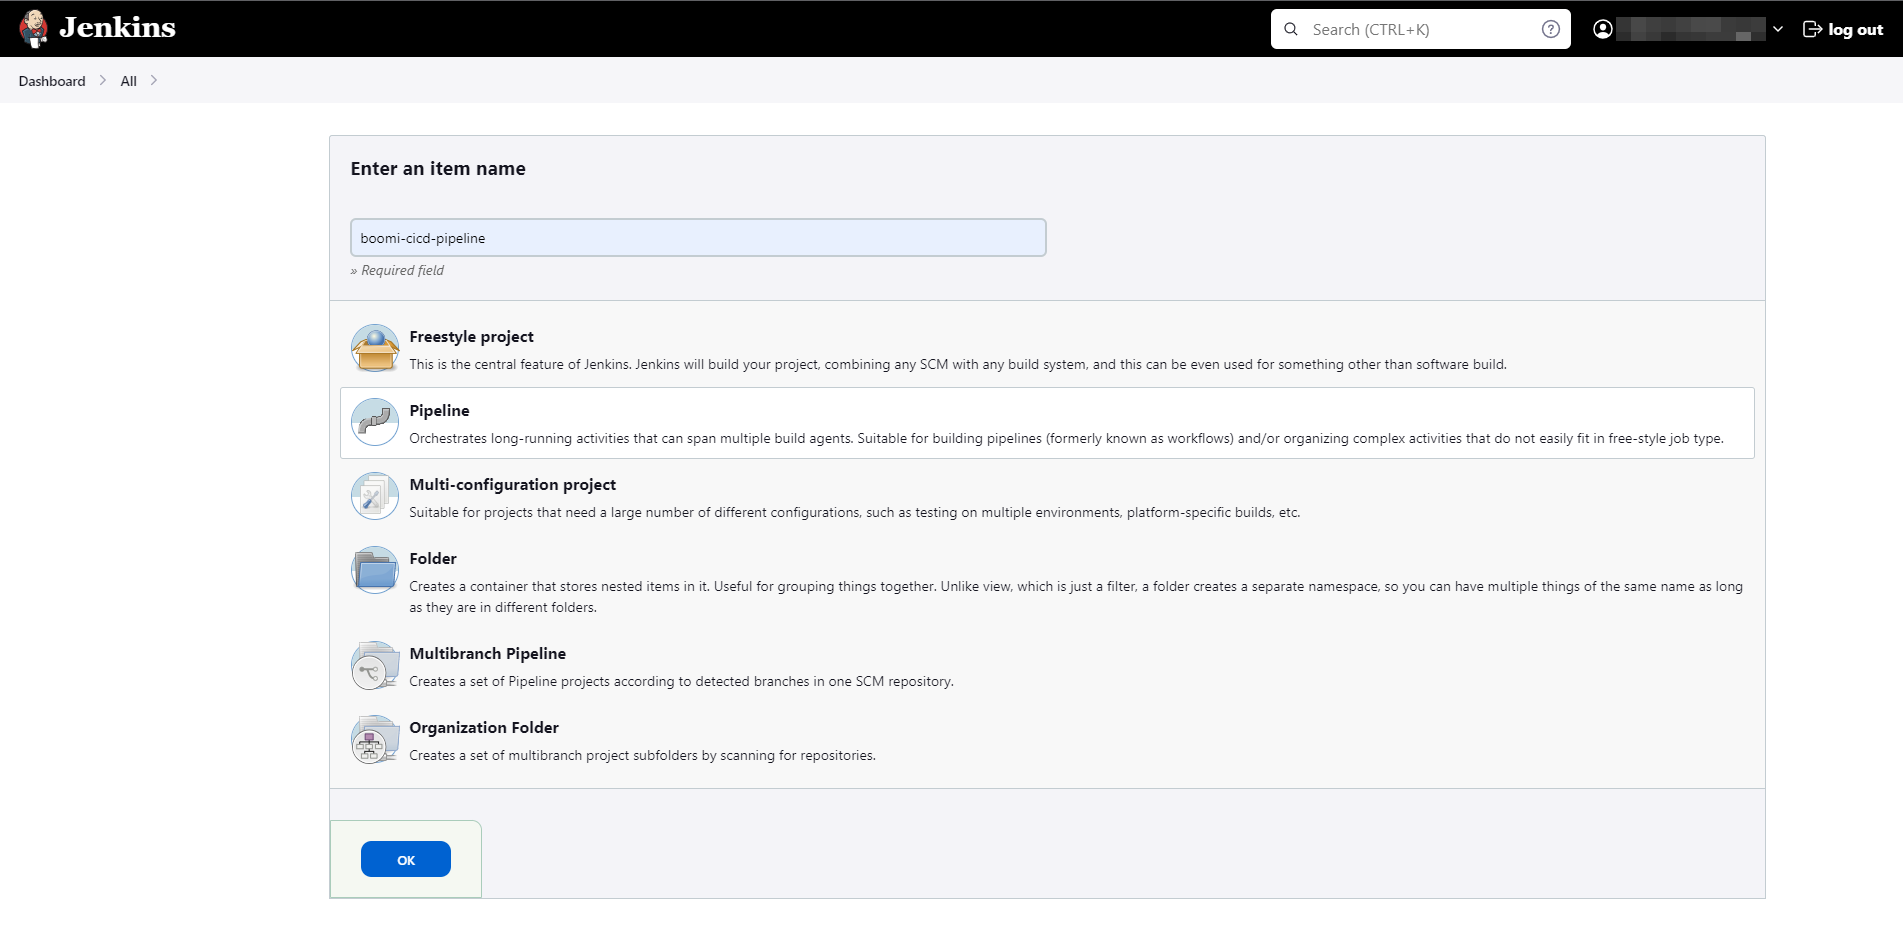
Figure 2. Select Pipeline as the New Item
Provide a description for the pipeline. Then scroll down to Pipelines, select Defintion as Pipeline Script, and paste the contents of the Jenkinsfile. into the Script section. The script is specific to an installation of Python 3.11. Please be aware that how the release_pipeline.py script is executed might be slightly different in your environment.
The following values within the Jenkinsfile must be updated to match your environment:
Jenkinsfile Variable |
Description |
|---|---|
BOOMI_ACCOUNT_ID |
The account ID of the Boomi account that you want to deploy to. |
BOOMI_ENVIRONMENT |
The name of the Boomi environment that you want to deploy to. |
credentials(‘atomsphere-api’) |
The name of the Jenkins credential that contains the Boomi AtomSphere API key. |
git url for the boomi-cicd-cli-py repository |
The URL of the repository that contains the Boomi CICD CLI Python library. It is recommended to clone the officialboomi Bitbucket repository and use a repository that you control. |
Credentials for boomi-cicd-cli-py repository |
The name of the Jenkins credentials id that contains the username and password for the repository that contains the Boomi CICD CLI Python library. This is only required if the repository is private. |
git url for the boomi-release reposity |
The URL of the repository that contains the Boomi Release JSON file. |
Credentials for boomi-release repository |
The name of the Jenkins credentials id that contains the username and password for the repository that contains the Boomi CICD CLI Python library. This is only required if the repository is private. |
Update the BOOMI_ACCOUNT_ID at top environment variables section of the Jenkinsfile with your account ID. Then update BOOMI_ENVIRONMENT_NAME within the stages that are used to deploy. This pipeline is an example pipeline. You can modify the pipeline to meet your needs. Once complete, click Save.

Figure 3. Set the Pipeline Description
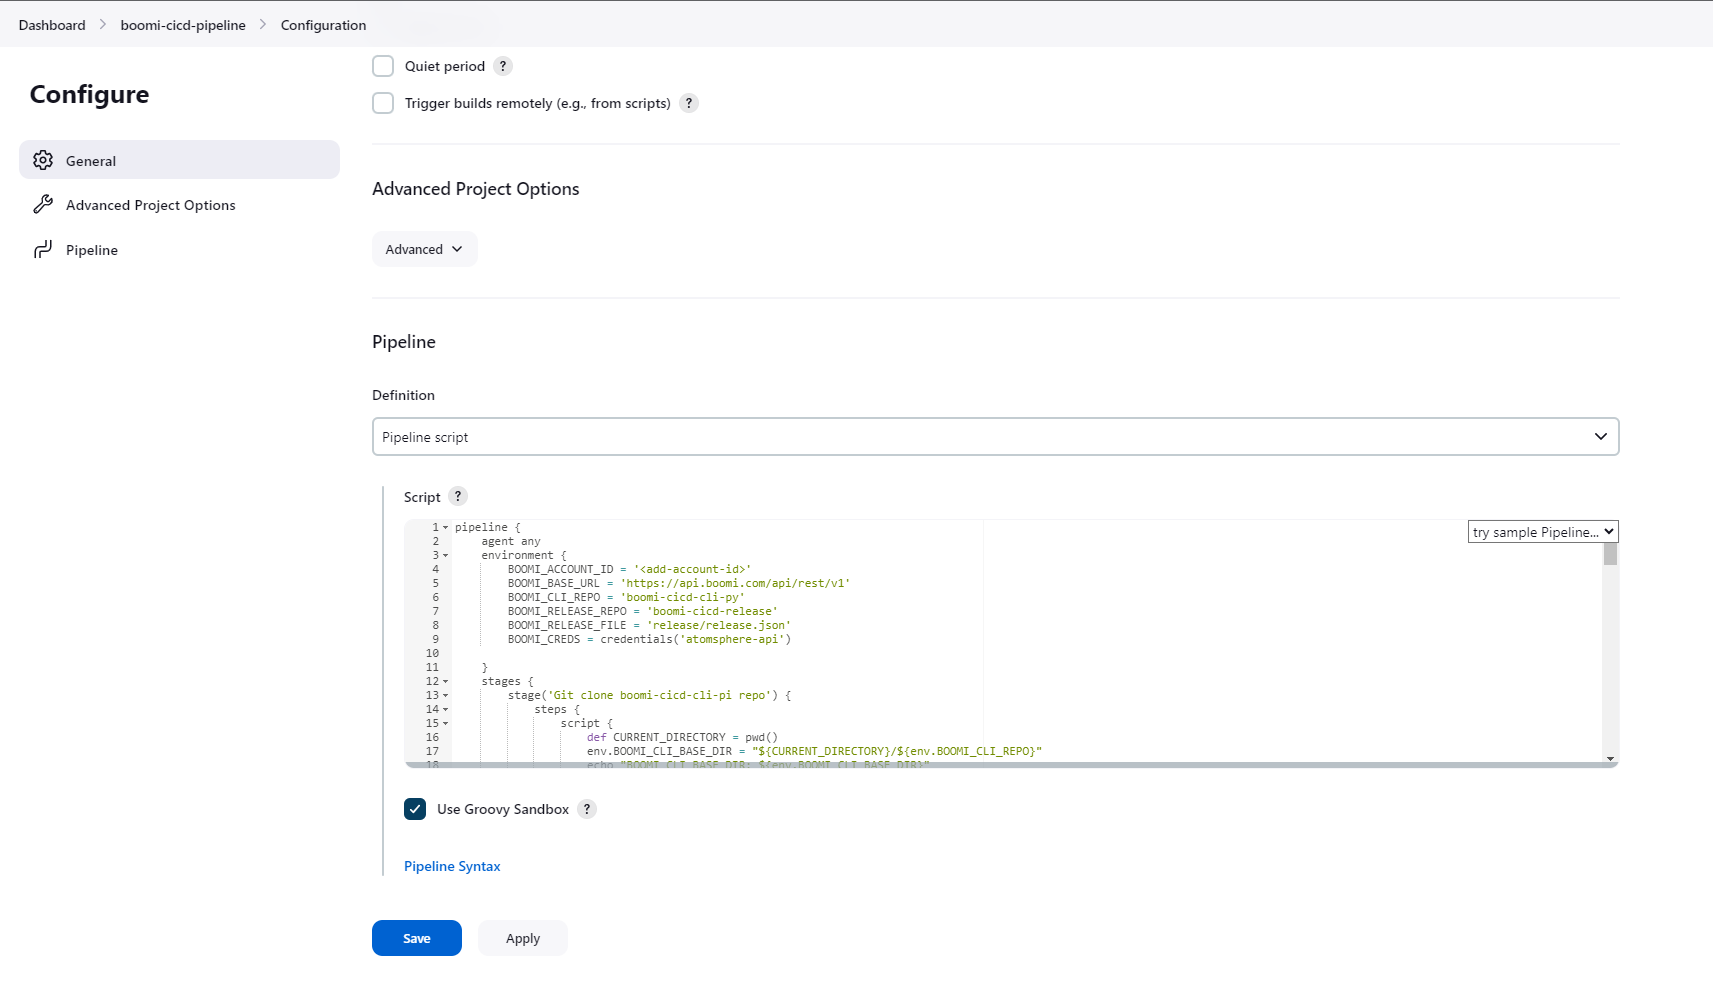
Figure 4. Set the Pipeline Definition
Jenkin’s Pipeline Script located within the template directory of the Boomi CICD CLI Python library.
  1pipeline {
  2    agent any
  3    environment {
  4        BOOMI_ACCOUNT_ID = '<add-account-id>'
  5        BOOMI_BASE_URL = 'https://api.boomi.com/api/rest/v1'
  6        BOOMI_CLI_REPO = 'boomi-cicd-cli-py'
  7        BOOMI_RELEASE_REPO = 'boomi-cicd-release'
  8        BOOMI_RELEASE_FILE = 'release/release.json'
  9        BOOMI_CREDS = credentials('atomsphere-api')
 10
 11    }
 12    stages {
 13        stage('Git clone boomi-cicd-cli-pi repo') {
 14            steps {
 15                script {
 16                    def CURRENT_DIRECTORY = pwd()
 17                    env.BOOMI_CLI_BASE_DIR = "${CURRENT_DIRECTORY}/${env.BOOMI_CLI_REPO}"
 18                    echo "BOOMI_CLI_BASE_DIR: ${env.BOOMI_CLI_BASE_DIR}"
 19                }
 20                dir("${env.BOOMI_CLI_BASE_DIR}") {
 21                    git url: '<add-url-git-repo>/boomi-cicd-cli-py.git',
 22                        credentialsId: '<add-jenkins-credentials-id>',
 23                        branch: 'dev'
 24                }
 25            }
 26        }
 27
 28        stage('Git clone boomi-cicd-release repo'){
 29             steps {
 30                script {
 31                    def CURRENT_DIRECTORY = pwd()
 32                    env.BOOMI_RELEASE_BASE_DIR = "${CURRENT_DIRECTORY}/${env.BOOMI_RELEASE_REPO}"
 33                    echo "BOOMI_RELEASE_BASE_DIR: ${env.BOOMI_RELEASE_BASE_DIR}"
 34                }
 35                dir("${env.BOOMI_RELEASE_BASE_DIR}") {
 36                    git url: '<add-url-git-repo>/boomi-cicd-release.git',
 37                        credentialsId: '<add-jenkins-credentials-id>',
 38                        branch: 'master'
 39                }
 40            }
 41        }
 42
 43        stage('Boomi CICD Pipeline DEV'){
 44            environment {
 45                BOOMI_ENVIRONMENT_NAME = 'add-dev-environment-name'
 46            }
 47            steps {
 48                script {
 49                    env.BOOMI_USERNAME = "${env.BOOMI_CREDS_USR}"
 50                    env.BOOMI_PASSWORD = "${env.BOOMI_CREDS_PSW}"
 51                    sh '''
 52                        # Create a vitual environment and activate
 53                        python3.11 -m venv ${BOOMI_CLI_BASE_DIR}/venv
 54                        source ${BOOMI_CLI_BASE_DIR}/venv/bin/activate
 55                        python3.11 -m pip install --upgrade pip
 56
 57                        # Install required libraries
 58                        pip install -r ${BOOMI_CLI_BASE_DIR}/requirements.txt
 59
 60                        export PYTHONPATH=${BOOMI_CLI_BASE_DIR}
 61                        cd ${BOOMI_CLI_BASE_DIR}
 62                        python3.11 boomi_cicd/scripts/release_pipeline.py
 63                    '''
 64                }
 65            }
 66        }
 67
 68        stage('Stage Deployment Approval') {
 69            steps {
 70                script {
 71                    input message: 'Approve deployment to Stage environment?', ok: 'Approve'
 72                }
 73            }
 74        }
 75
 76
 77        stage('Boomi CICD Pipeline STG'){
 78            environment {
 79                BOOMI_ENVIRONMENT_NAME = 'add-stage-environment-name'
 80            }
 81            steps {
 82                script {
 83                    sh '''
 84                        # Create a vitual environment and activate
 85                        python3.11 -m venv ${BOOMI_CLI_BASE_DIR}/venv
 86                        source ${BOOMI_CLI_BASE_DIR}/venv/bin/activate
 87                        python3.11 -m pip install --upgrade pip
 88
 89                        # Install required libraries
 90                        pip install -r ${BOOMI_CLI_BASE_DIR}/requirements.txt
 91
 92                        export PYTHONPATH=${BOOMI_CLI_BASE_DIR}
 93                        cd ${BOOMI_CLI_BASE_DIR}
 94                        python3.11 boomi_cicd/scripts/release_pipeline.py
 95                    '''
 96                }
 97            }
 98        }
 99
100        stage('Production Deployment Approval') {
101            steps {
102                script {
103                    input message: 'Approve deployment to Production environment?', ok: 'Approve'
104                }
105            }
106        }
107
108
109        stage('Boomi CICD Pipeline PROD'){
110            environment {
111                BOOMI_ENVIRONMENT_NAME = 'add-prod-environment-name'
112            }
113            steps {
114                script {
115                    sh '''
116                        # Create a vitual environment and activate
117                        python3.11 -m venv ${BOOMI_CLI_BASE_DIR}/venv
118                        source ${BOOMI_CLI_BASE_DIR}/venv/bin/activate
119                        python3.11 -m pip install --upgrade pip
120
121                        # Install required libraries
122                        pip install -r ${BOOMI_CLI_BASE_DIR}/requirements.txt
123
124                        export PYTHONPATH=${BOOMI_CLI_BASE_DIR}
125                        cd ${BOOMI_CLI_BASE_DIR}
126                        python3.11 boomi_cicd/scripts/release_pipeline.py
127                    '''
128                }
129            }
130        }
131    }
132    post {
133        always {
134            deleteDir()
135        }
136    }
137}
1.3 Create Jenkins Credentials
Next create the Jenkins credentials that are used by the pipeline. A set of credentisl are required for the Atomsphere API and another set of credentials are required for the git repositories that contains the Boomi CICD CLI Python library and the release json. If the git repository is public, then the credentials are not required.
To navigate to the Jenkins credentials, click on the user name in the top right, and then click on Credentials in the left panel. Create a new set of credentials by click on Sysmte and then Global credentials (unrestricted). Then click Add Credentials.
Field |
Value |
|---|---|
Kind |
Username with password |
Scope |
Global |
Username |
BOOMI_TOKEN.<boomi-username> |
Password |
Boomi AtomSphere API Key |
ID |
atomsphere-api |
Description |
Username and password of Boomi Service Account. |

Figure 5. Create new Jenkins Credentials for Atomsphere API.
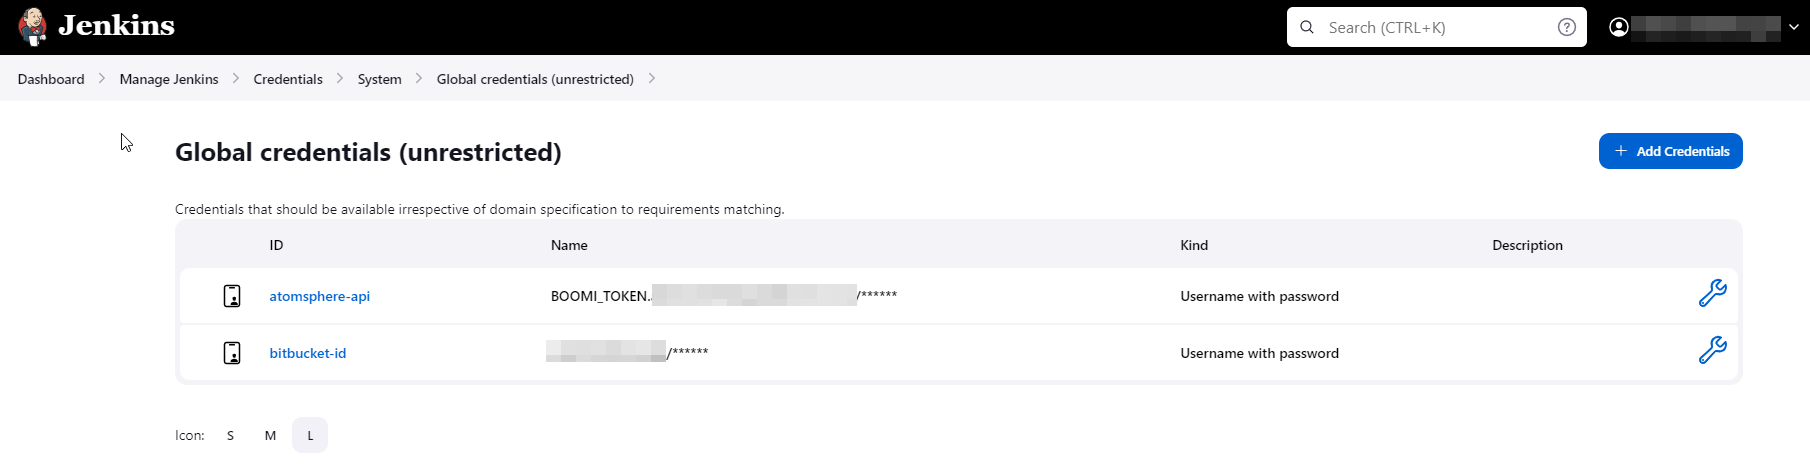
Figure 6. Jenkins Credentials for Atomsphere API and a single git repository.
1.4 Run the Jenkins Pipeline
Once complete, navigate back to the boomi-cicd-pipelilne and click on Build now. The pipeline will start and initially deploy to the Boomi Development environment. The pipeline has approval steps that require manual intervention before deploying to Stage and before Production.
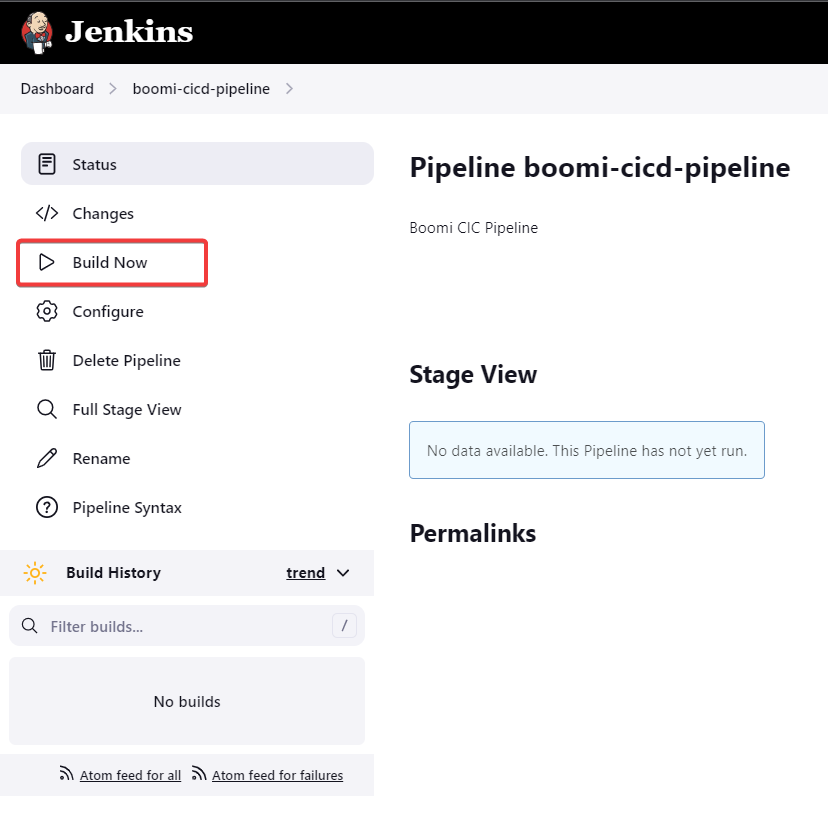
Figure 7. Build the Jenkins Pipeline.